How to Design Fashion & Textile Products for Beginners
Time to read: 12.5 minutes
The first stage of making anything is the design & concept. You are going to need to understand design if you want to make and sell a product. Design is more than just aesthetics, it’s the form and the function behind the design.
“Design is also the process we undertake to solve a problem.”
Planning & The Concept
Go back to basics and start with your concept. What problem are you solving? Who is it exactly who has this problem and why would they consider your solution worth paying for?
Once you have a solution - how will you be selling it?
Let’s say you want to sell a spacious XL sized car. Are you going to sell this car like a luxury SUV with blackout windows to celebrities? Or are you going to sell this car like a station wagon to soccer Mums. How you package, market and sell two similar products, can make a world of difference.

Research
Do your research and make sure you properly know your customer. Where do they hang out, where do they shop and who do they follow on Instagram. What are their beliefs and values? What is their psychographic?
Look into your product niche too. What other options are available and how will yours be better or different?
Know your price points before you start doing anything. What price range do your audience shop in? What retail price are you going to target and how will you justify that?
Don’t think of yourself as creative and don’t want to start a sketchbook? You can start collecting images online or pull things out of magazines. Start a paper scrapbook or make some boards on Pinterest so you collate and view your research.
Before you Start Designing...
Your fabric affects the product hugely and should be your first design decision. Yes you heard me, the first! This image shows how the same design... can look so different in four different fabrics.
![Fashion Design: Process, Innovation and Practice - Kathryn McKelvey [Affiliate Link: http://amzn.to/2yypPxf]](https://images.squarespace-cdn.com/content/v1/572d2d4f59827eeb6e36df72/1510618692861-BCHHQKTZLWL4WAIR0HOU/Fabric+Choices.jpg)
Fashion Design: Process, Innovation and Practice - Kathryn McKelvey [Affiliate Link: http://amzn.to/2yypPxf]
Before you refine the details of your design you should choose and find your fabrics. There is nothing worse than discovering you can’t get the right fabric color, print or quantities after investing months in a design.
“It is the fabric that decides.”
Sourcing is the industry name for the process of finding/buying your materials. Often, manufacturers in Asia will source your fabrics for you. If you are manufacturing in the US, often you will have to do the sourcing yourself.
Outlining the Design
Once you know what type of product you are designing and what it’s function is... think about what sort of silhouette you would like. What physical shape will the design take? If you are making bags or accessories I would describe this as the form. If we were talking about underwear or collars, some examples would be:
What sort of fit do you want to achieve? This can range from slim all the way to boxy. It might sound like a minor detail but the fit of a garment is the #1 purchase factor for consumers.
Think back to when you were last in a fitting room at a store. You try something on and asses yourself in the mirror, based on how the garment looks on you, how well it fits you. To loose, too tight, to short or too long are all reasons for a customer NOT to purchase.
This image is a good visual explanation of fit!
![Technical Sourcebook for Designers by Lee, Jaeil, Steen, Camille [Affiliate Link: http://amzn.to/2ywSgzL]](https://images.squarespace-cdn.com/content/v1/572d2d4f59827eeb6e36df72/1510622921894-JB0KSWLGF0PVTM92H5SK/Explaining+Fit.jpg)
Technical Sourcebook for Designers by Lee, Jaeil, Steen, Camille [Affiliate Link: http://amzn.to/2ywSgzL]
Components, Trims & Accessories
Now you want to get into the nitty gritty of the design. What details will you add?
If your design is made from a stretch fabric you might not need any openings and fastenings. If not - you likely will need a way for your product to open and close. The most common fastenings would be zips, buttons, snaps and hooks.
Trims and other accessories are another aspect to consider. Trims are things like elastics, bindings and ribbons. These could be completely decorative or could have a function. Like covering an unattractive seam edge or reinforcing an opening. Accessories can be things like rivets, eyelets or studs for example.
Decoration
There are a tonne of different surface decoration techniques that you can use. Print being the most obvious one, for which there are numerous techniques. Screen printing, sublimation, heat transfer and digital are the most common.
A placement print is just printed on a garment once, in a specified position. Like a logo on the chest or a graphic on the front of a t-shirt. Another way to print is use a repeat print which would cover a whole piece of fabric. This is also referred to as a 'textile print’.
Branding is another way you can decorate your product. You’ll probably want to advertise the name of your brand on your design (unless you’ve consciously decided against that). There are so many ways to apply labels, badges and tags you can get pretty creative here.
Have a look at our Pinterest board for some ideas.
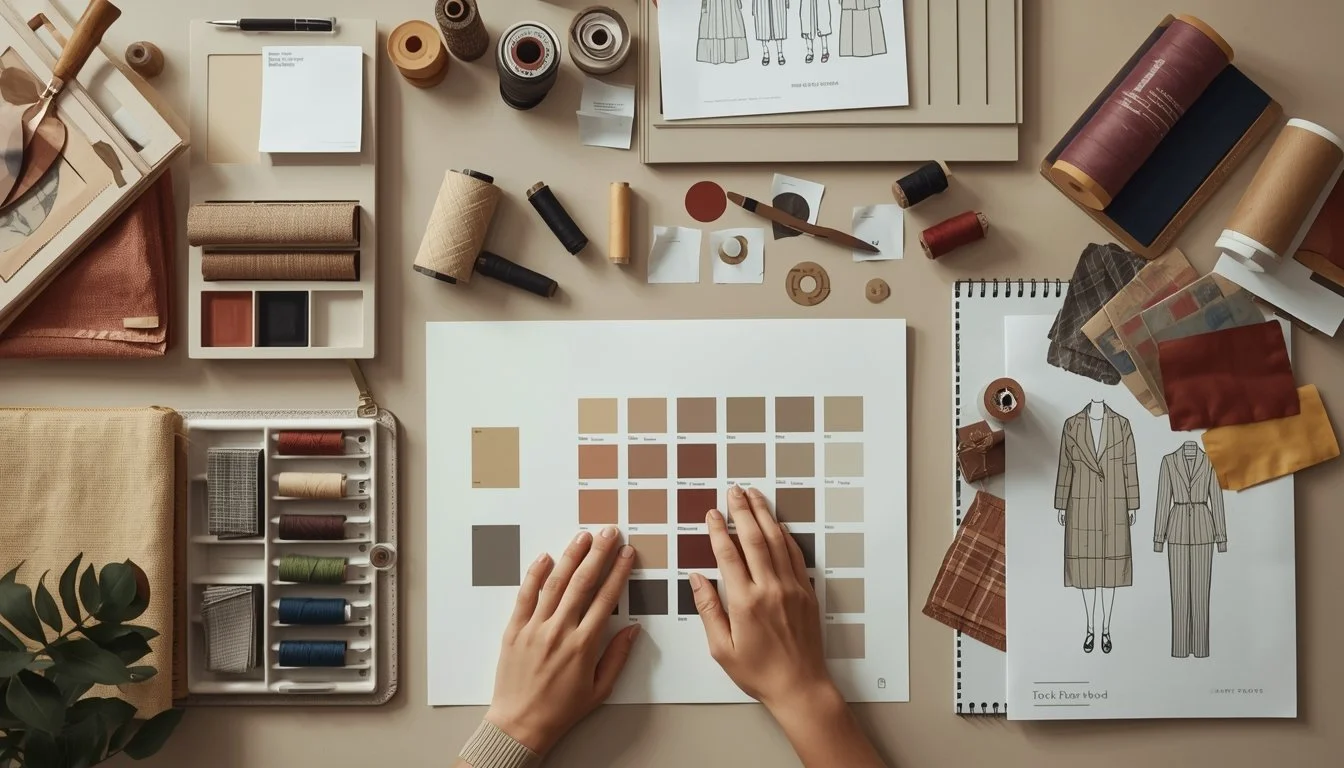
Color
Lastly, don’t forget to consider color! There are some great tools out there for creating color boards and getting inspired.
Coolors
Pantone
Adobe Color
Colrd
Remember that the color of fabrics you use might have to be dictated by your sourcing again (see section above). If you are making in smaller quantities, getting fabric custom dyed might not be affordable for you. Same with all-over repeating fabric prints too. If you can go custom, Pantone fashion & home colors are the industry standard.
Sizing
A huge consideration is sizing. If this is your first clothing product, you probably won’t have any standard sizing or body measurements to work from. You can start by thinking about your customer and what body shape and size range they are. If your customer is particularly into fitness this would definitely effect size and shape. Location can wildly effect sizing too… sizes in Asia differ hugely from ‘Western’ standards. Age is another big contender. Compare a size 10 in Old Navy to a size 10 in H&M and you’ll see what I’m talking about!
Think about the actual size range will your product come in. Eg: 4, 6, 8, 10, 12 for example. Fit is one of the top consumer concerns when shopping, but having less sizes will lower the cost for you. If you have a more tailored garment you will want more size breaks. More casual styles which are often in stretch fabrics are more forgiving. You may be able to get away with using alpha sizing, eg; S, M, L, XL.
Labelling
You will want at least a couple of labels for your product. In garments it is standard to have a back neck label or label at the back waistband with your brand on. Sometimes this includes the size too. Make sure to include the size elsewhere if not. Labels can be made from fabric and sewn in, or they can be printed directly on to an item. Materials range from satin, cotton and canvas to leather and plastics.

Some common fabric label shapes & folds
If you are designing clothing then you need a care label. In the EU and the US, you legally need to include the following; fabric composition (eg: 50% cotton, 50% polyester), manufacturer name (this is you the designer/brand), wash instructions and country of origin (the is where your product is made, usually where the sewing factory is).
Packaging
Lastly, I want to mention packaging. This can include anything from hangers, tags, bags and boxes. You can use tags to provide extra interesting info or images to the customer at the point of sale. A polybag is a basic way to protect your garment from damages and wrinkling in transit. You can add print your poly bags to, or get really creative and design your own custom boxes or bags.
Here are a few hang tag and packaging ideas we have collected on Pinterest.
Refining your Design & Costing
Once you have your design details in place you’ll want to look back over your work to asses how do-able your design is in reality.
You’ll need to check that you can make your desired margins on your product while still keeping the price point you previously chose based on your research. Do a ‘costing’, which is a calculation of all materials & other costs associated with your product.
You can calculate a rough budget for your product by dividing the retail price by 3 to get your wholesale price. Divide by 3 again to get a cost price ‘ceiling’. This number should give you a rough idea of what you can afford to spend per unit.
Next Steps
Well done if you’ve managed to get this far! Now you are ready to start developing your design. This includes things like; getting a tech pack, hiring a pattern cutter and getting prototypes made! Getting the design and concept right is the first and most important step towards bringing your product to life.
Got a design question? Get in touch... Tweet us @techpacksco or email mail@techpacks.co


Author Bio
Tech Packs Co founder Belinda is a technical fashion designer from London, now based in Los Angeles. Belinda had her first job in fashion at the age of 15, fixing swatch cards together. Since then, Belinda has been designing & creating tech packs for more than a decade... for household name brands and independent designers alike.