How Is Printed Fabric Made and What Does Your Factory Need to Know
Time to read: 19 minutes
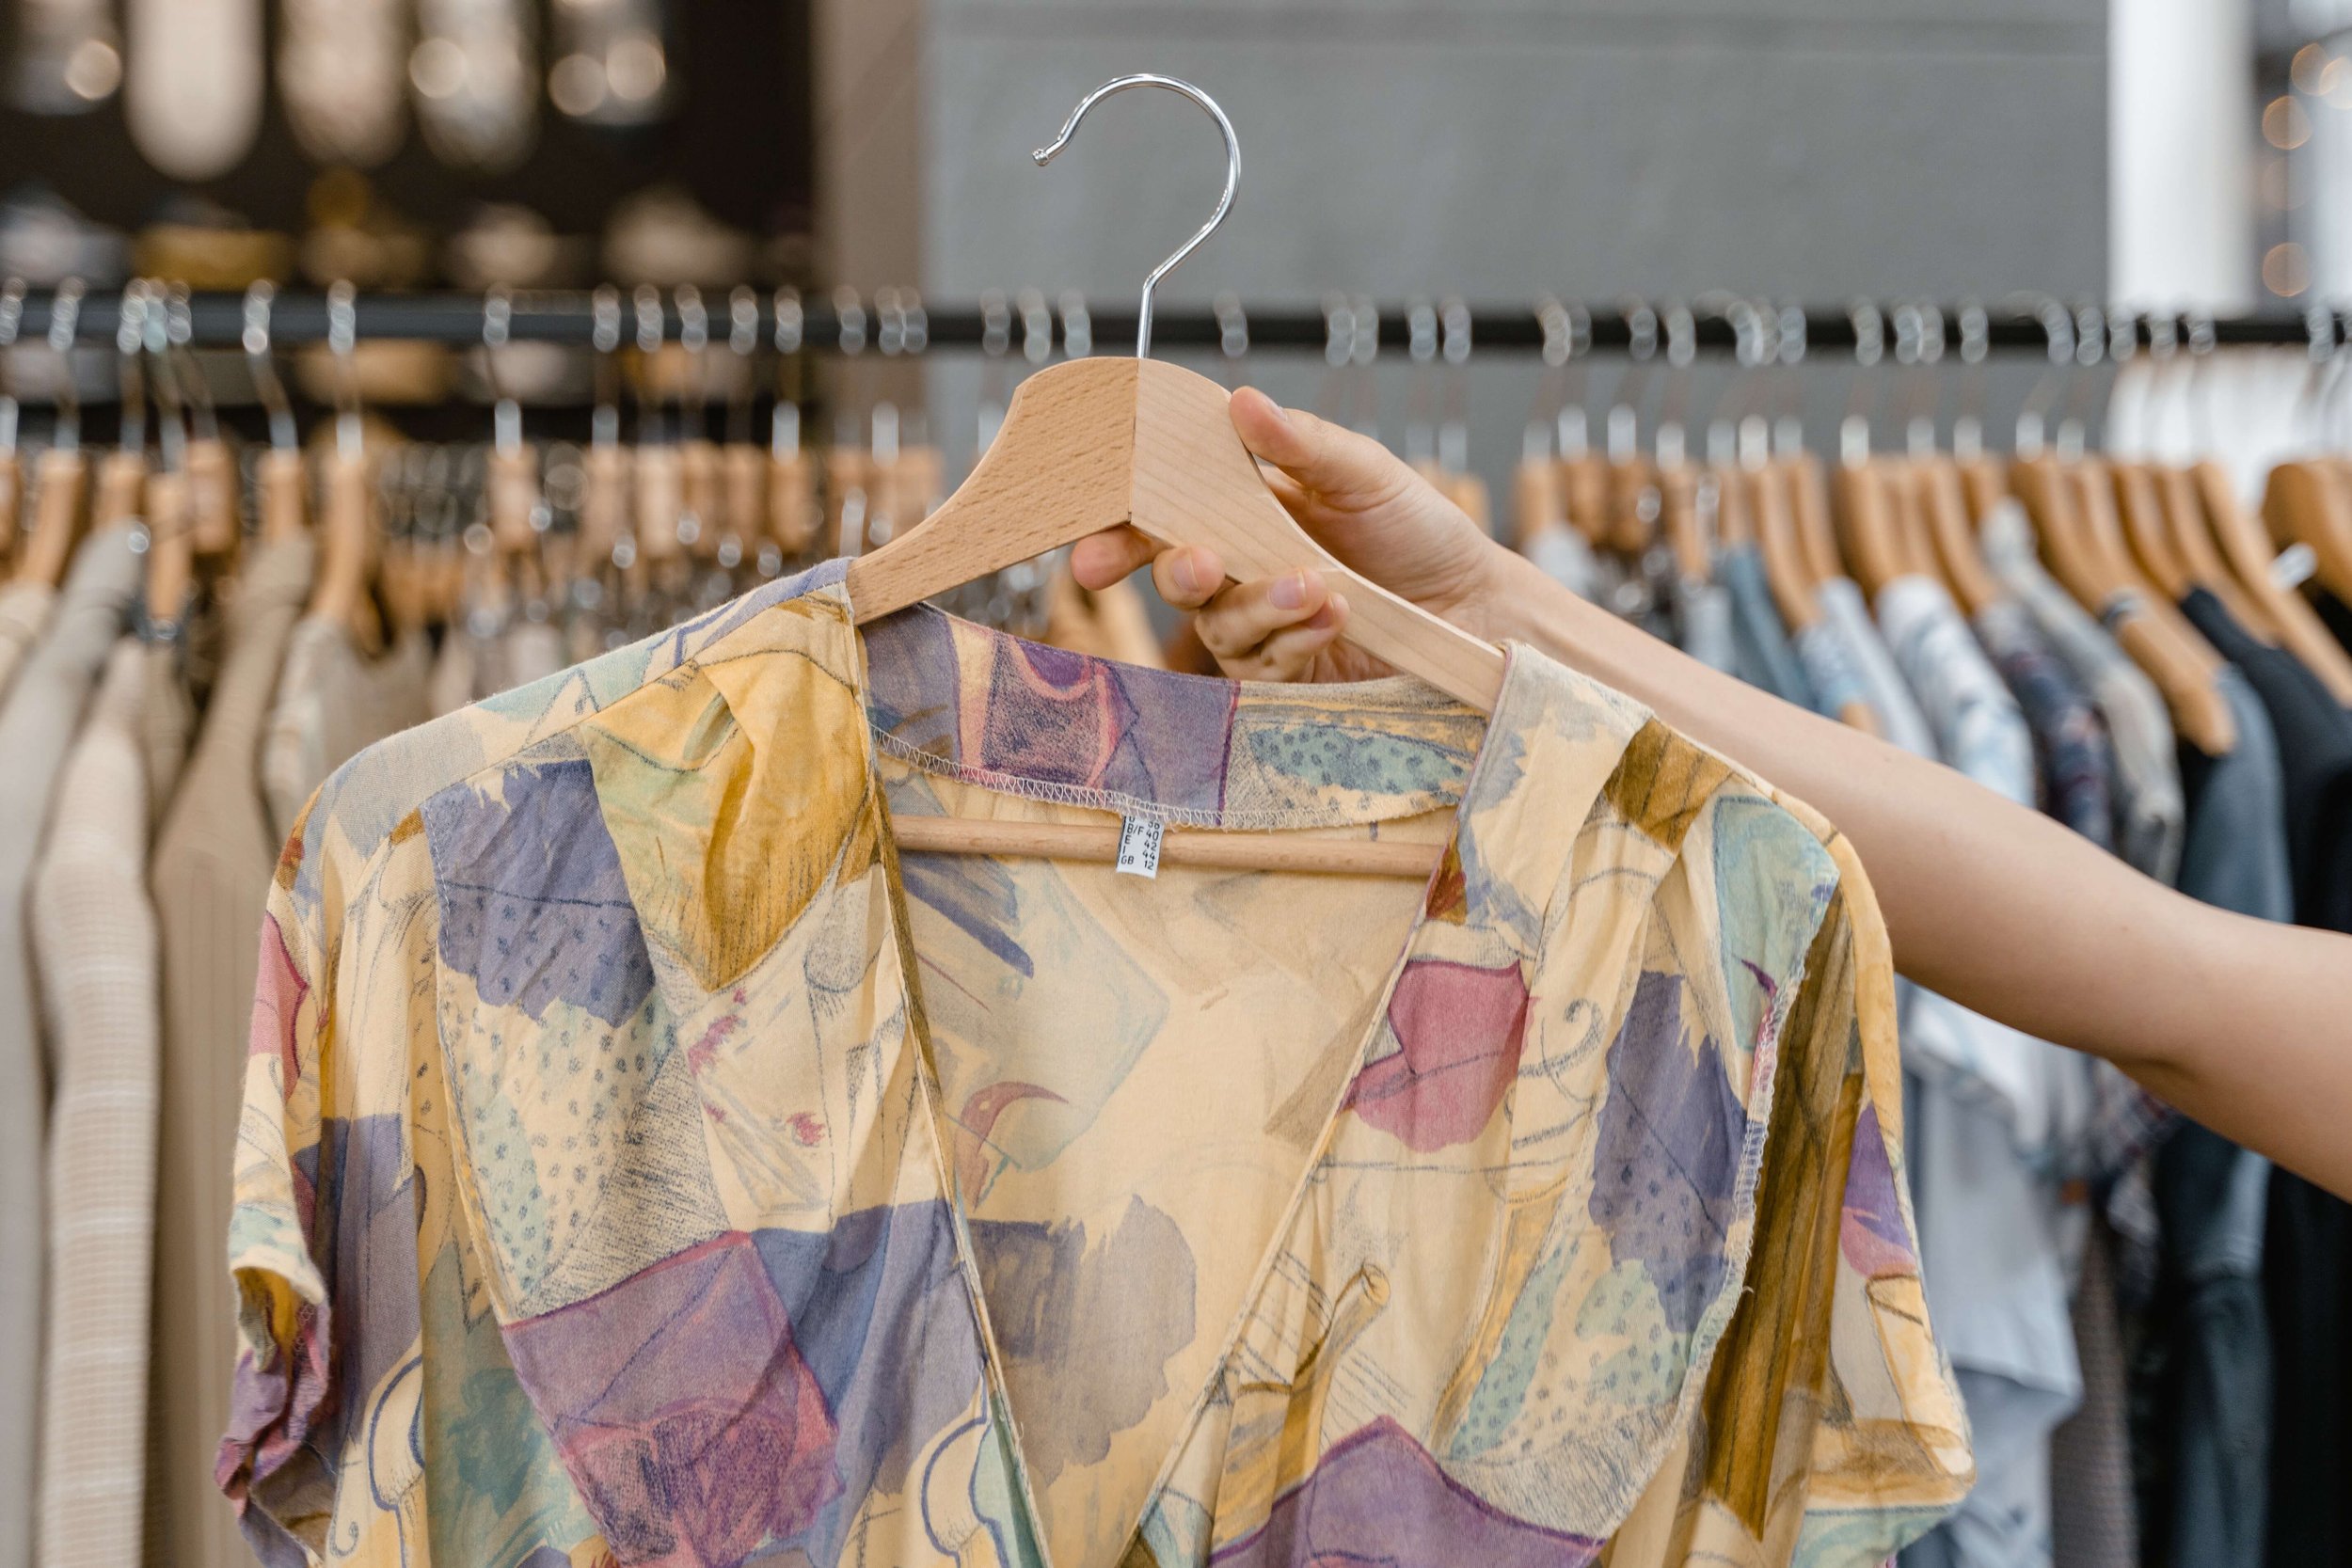
Mart Production, Pexels
In the process of creating your fashion line, once you've determined your target demographic, color palette, and overall design strategy, it's time to move on to the next major step: selecting your printed fabric.
At times, you will notice that solid colors don’t do your garments justice, which is when to create something with more visual interest. There are many ways to go about this, like purchasing ready-made printed fabric from a shop (like Moda Fabrics), from independent designers (see Spoonflower, My Fabric Designs), or creating custom printed fabric yourself. For inspiration, check out Patternbank, the Pattern Library, and Pattern Observer.
Whichever option you choose, it’s a good idea to know how and why certain fabrics are decorated in a specific technique, as well as what technology is out there to bring your ideas to life.
This article will look at the various ways prints may be applied to the fabric and will answer some common questions to help you decide what works best for your collection and how to communicate your ideas to your team and factory.
How Fabric Prints Are Made and the Types of Prints You Need to Know About
First things first, let’s go over the types of prints you can use. The two main classifications are repeat prints and placement prints.
Repeat Prints
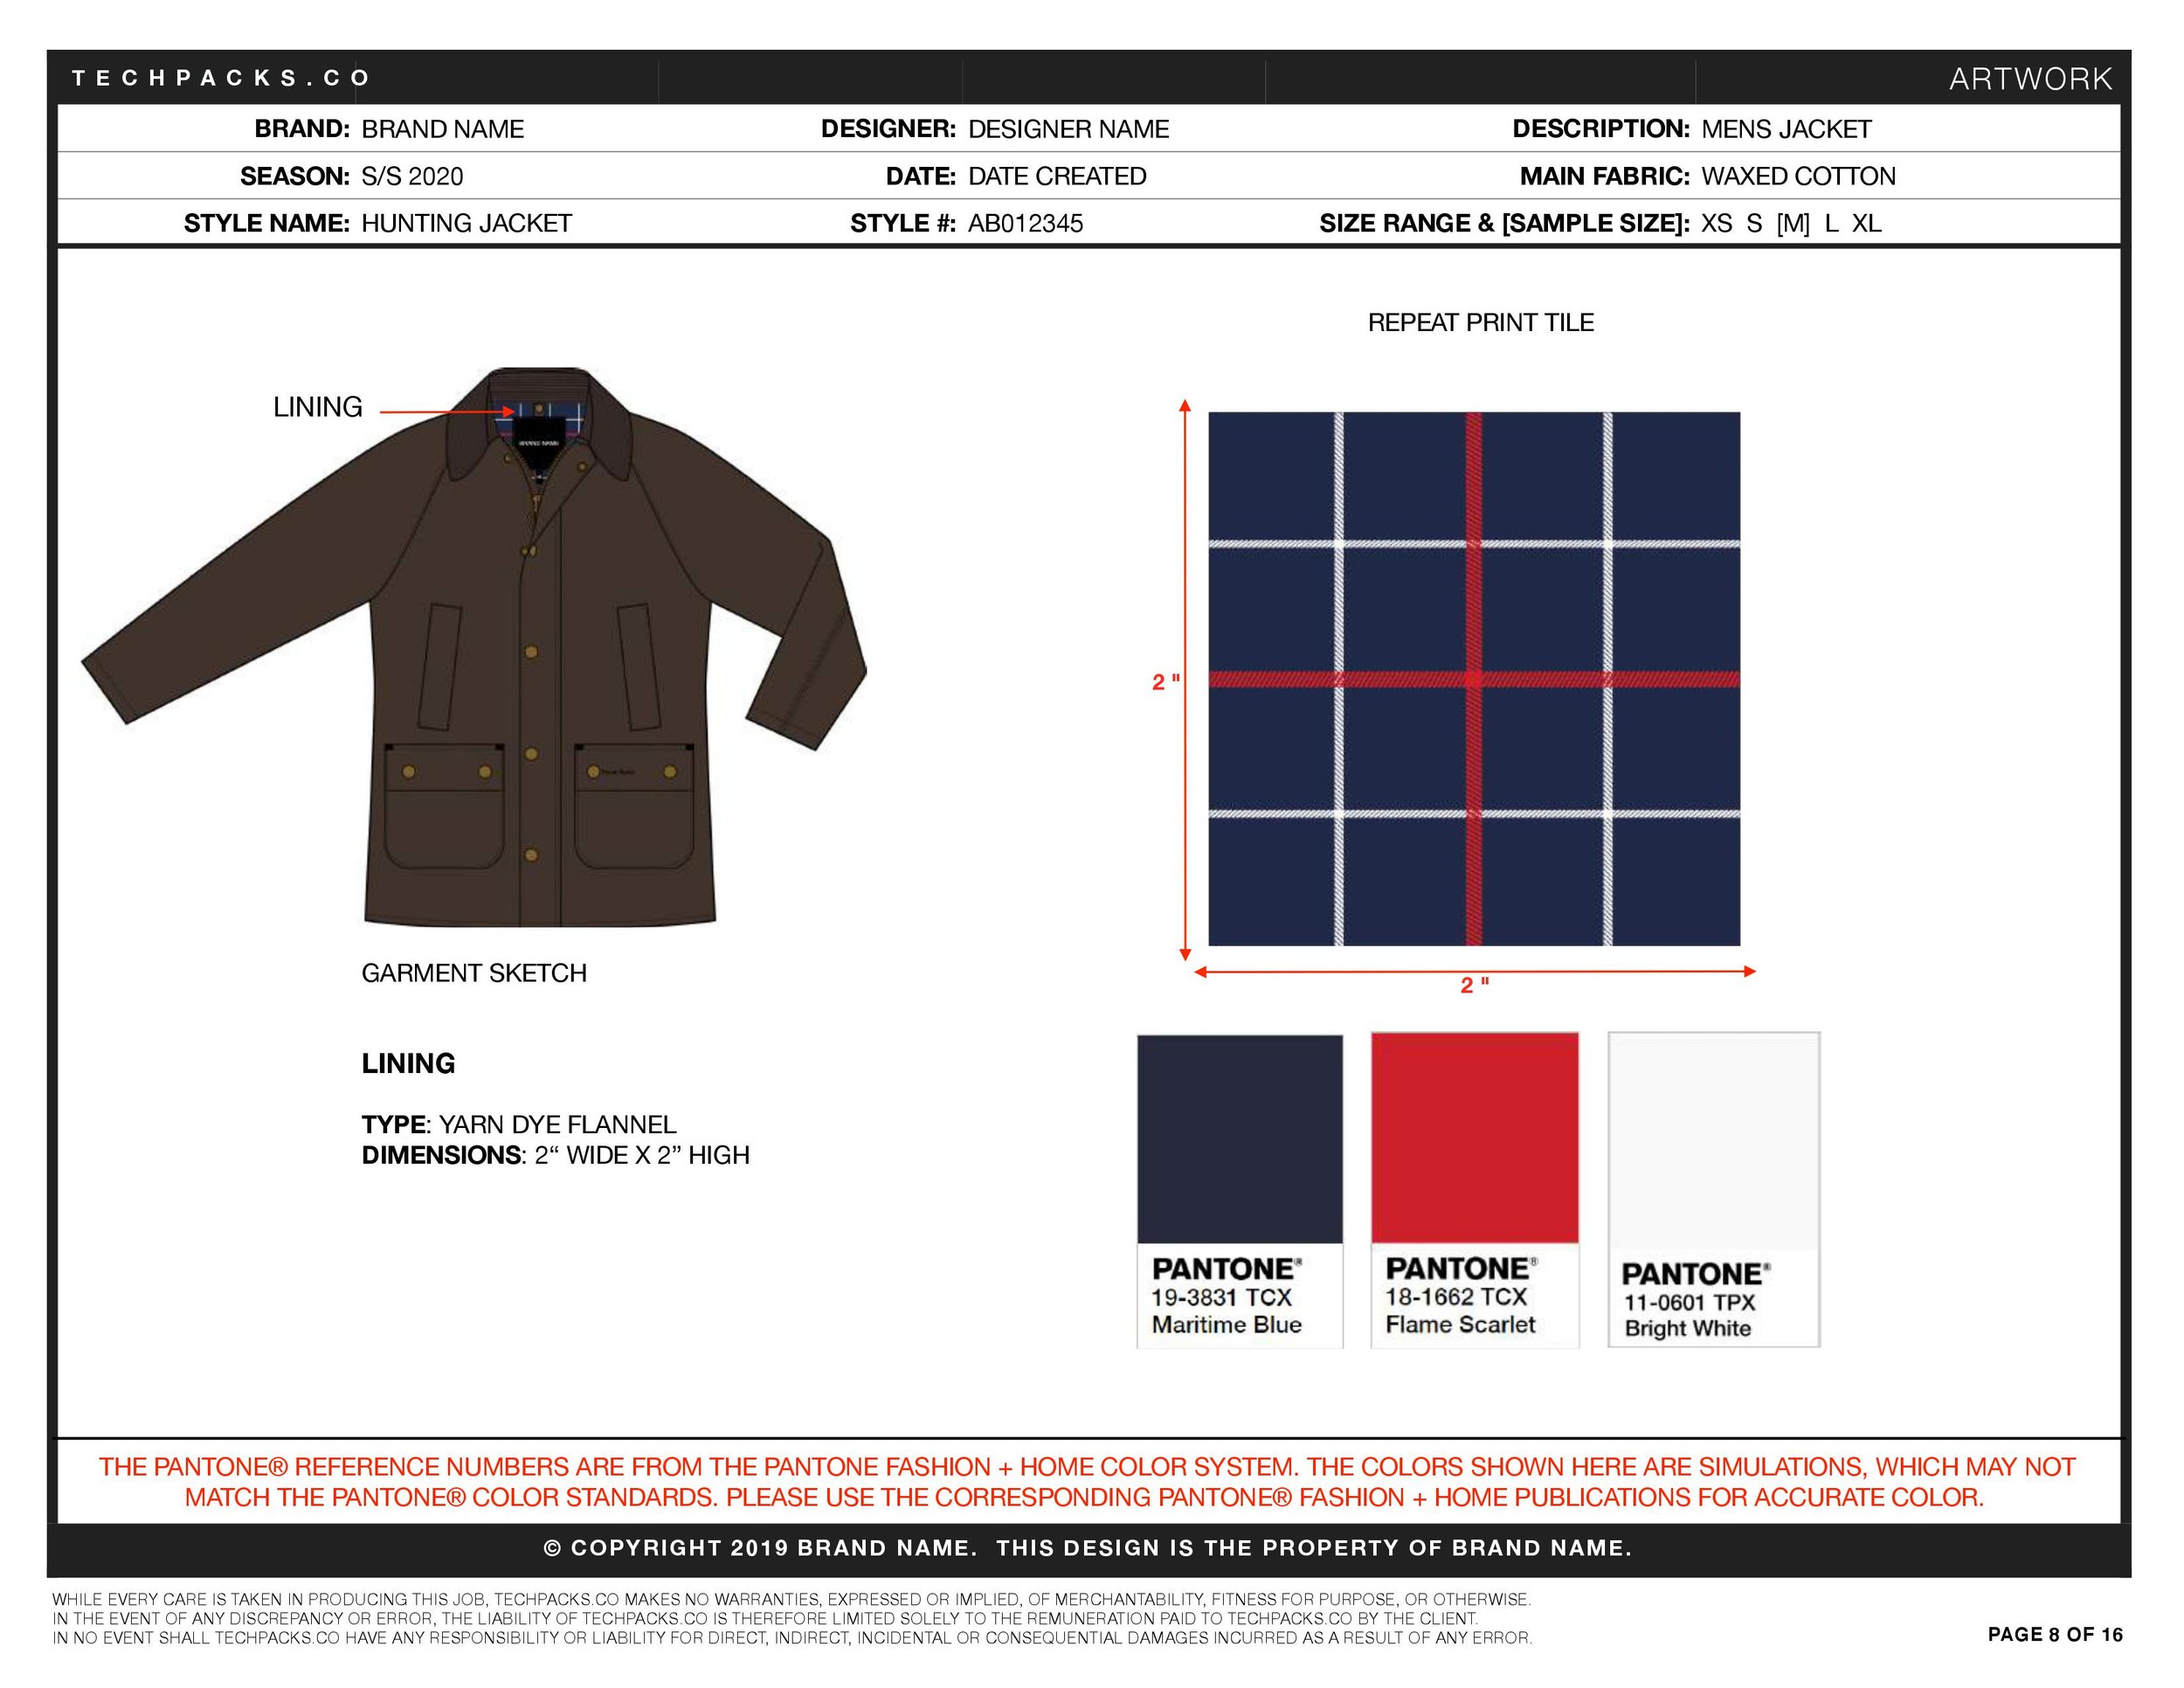
As a fashion designer, you have a lot to gain by learning to create repeat patterns in order to build a seamless design on a length of cloth. The most widely used software for creating repeats is Adobe Illustrator (they have a number of tutorials if you need guidance).
The most common repeat print formats are:
The square / full drop / block pattern repeat – this is the simplest type of drop. It is rarely used in retail fabrics because it’s not the most aesthetically appealing, but it can serve as a starting point for a more intricate print;
The half-drop repeat print – it’s the most popular way of repeating motifs as it’s simple to make but has a nice flow and balance;
The brick repeat print – it’s the same as the half-drop, in principle, but the offset is horizontal instead of vertical;
Mirror repeat – the motifs are arranged so that the print tile has two lines of symmetry;
Diamond/lozenge repeat – by rotating the square pattern at 45°, you can obtain a basic diamond repeat;
Ogee repeat – it’s similar to a diamond pattern, but the motif’s side is more rounded;
Stripe repeat – can be made up of simple lines or a motif that is multiplied along a straight or wavy line;
Random repeat – it’s used to create organic designs like floral or paisley patterns.
Any other types of print repeats are usually iterations of the ones mentioned above, and they can be made into rather complex designs.
Other considerations for printing include the spacing and scale of the motif inside a tile, which should be determined by the desired outcome.
Maksim Goncharenok, Pexels
Spacing is a purely aesthetic choice — it's up to you to decide how much of the fabric print’s background you want to reveal through the motifs.
The scale, however, is strongly related to the end use of the fabric. There are small-scale patterns (with ½ sq in motifs), medium-scale patterns (½ – 4 sq in motifs), and large-scale patterns (motifs greater than 4 sq in). To help you better understand the concept, here's a quick YouTube tutorial that explains how to choose the correct scale of a fabric print for a dress.
Placement Prints
Full front placement print on a T-shirt. Klara Kulikova, Unsplash
Placement prints (also known as engineered prints) are extremely popular with T-shirts and comprise a single image or a block of text. They are usually made after the garment is sewed.
According to printing standards, the positions of the designs are usually:
Left chest
Center chest
Full front
Oversize front
Back collar
Upper back
Full back
Sleeve
All-over placement
You can get as creative as you want to with placement; just remember to keep it commercial and in line with your audience. Printing over seams should be avoided unless you deliberately want to achieve a distressed look. When communicating with your factory about the design for placement prints, keep in mind the following:
Prepare a technical sketch of the print's position and note the placement measurements (e.g., 5 cm down from the center front neck);
Note the dimensions of the print: the height and width;
Note the type of print you want;
If you are using spot colors, provide Pantone references for each color;
Optionally, add additional notes on the quality and feel you want to achieve;
Always send a separate source file containing your artwork;
If you have multiple prints for the same garment, send them in separate appropriately named files rather than grouping them all together; to keep things easy to understand.
How to Print Designs on Fabric — Available Technology
Preparing a T-shirt for printing. Deniz Demirci, Unsplash
Did you know that one of the earliest examples of printed fabric dates back to the fourth century C.E. in China? Carved block printing (or xylography) is believed to have originated there.
The textile business has seen significant changes over the years, and we are now in the midst of the digital age. Printing technology is becoming more affordable while also improving quality and durability. With all the resources available, fashion designers can develop a fashion line by themselves if they wish to work independently.
On that account, check out this blog on the most popular printing methods today.
Final Thoughts
Should you need further support in creating your fashion collection, check out our online workshops. You can also download the free templates in our store if you’ve reached the development stage and need a little bit of guidance to start production. Alternatively, if you would like to work with us directly, don’t hesitate to reach out!


Author Bio
Tech Packs Co founder Belinda is a technical fashion designer from London, now based in Los Angeles. Belinda had her first job in fashion at the age of 15, fixing swatch cards together. Since then, Belinda has been designing & creating tech packs for more than a decade... for household name brands and independent designers alike.